Monday, December 13, 2010

First Coat

This is the first coat in a low res image.  I left the pedals on the frame becasue they were a pain to take off.  They were surprisingly easy to tape around.


Saturday, October 23, 2010

Removing the wheels

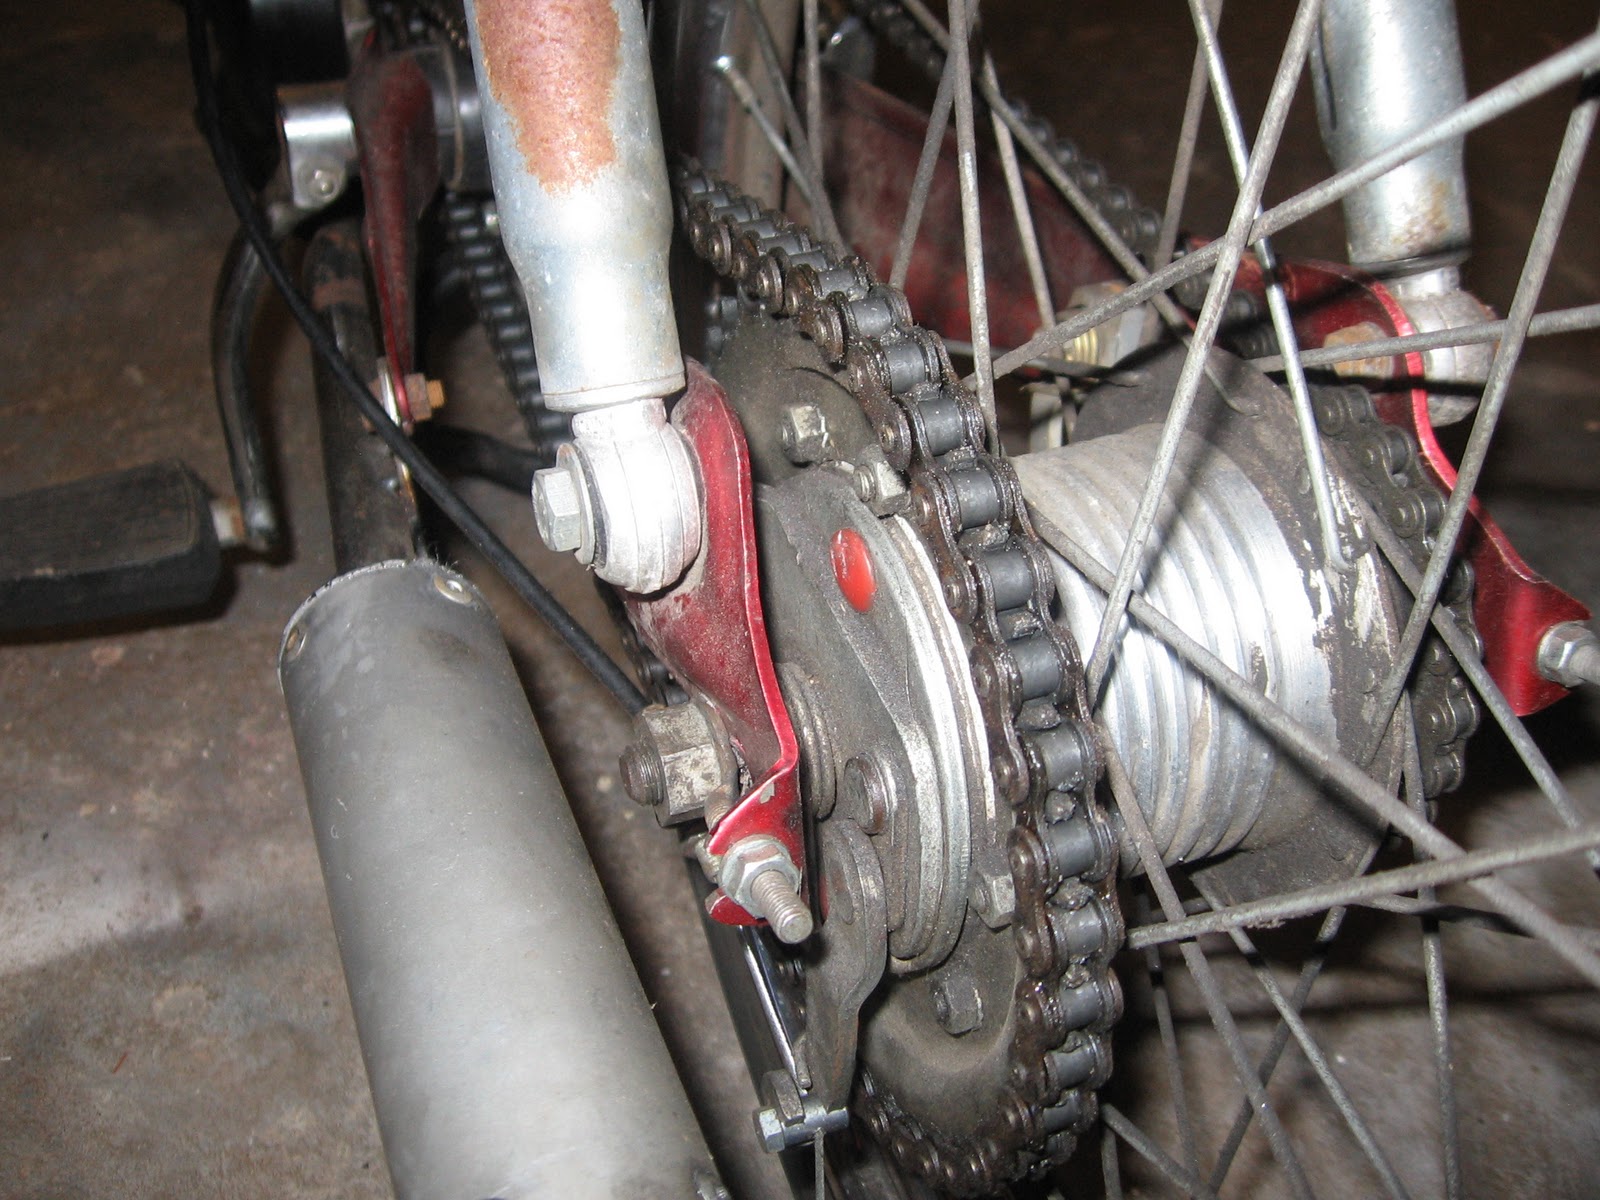
Ok.  This usually doesn't go so well for me.  I had some problems with my Tomos doing this.  This looks more confusing because the maxi has 2 gears and 2 chains.  The rear wheel should already be loose since I loosened it to get the main drive chain off.  

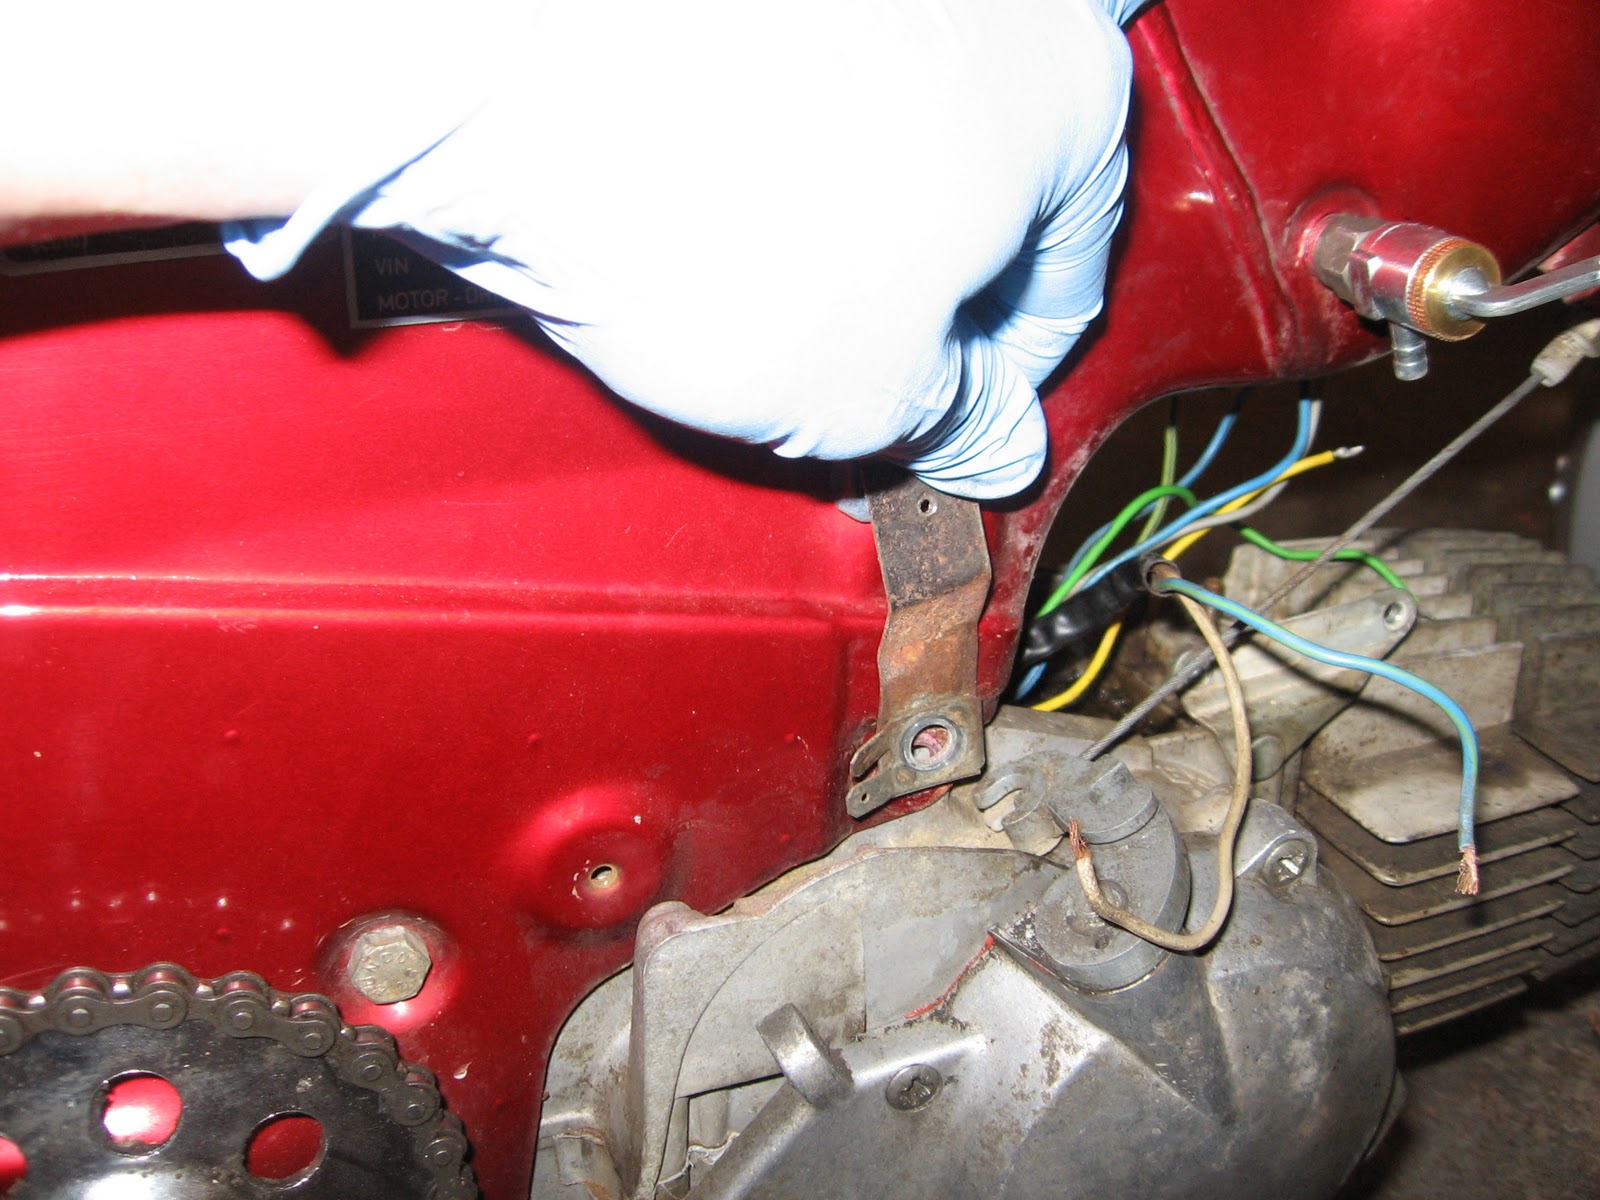
I basically took my hand and released tension on the little gear arm and the chain came right off.


After the chain is loose, note the notch where the rear tire mounts to the swing arm.  Slide it off of that and the rear wheel will be free to come off.


Now that the wheel is off, remove the little gear arm that puts tension on the pedal chain.  One bolt should do it.  Note the washers and where they are on this.


Next, remove the front wheel.  Note the washer positions, etc.


Crappy picture... but there is 2 screws (one on either side of the front forks) that hold on the front fender to the forks.  Remove them and off it comes!


Here is what the maxi looks like now.  All that's left to do is remove the forks, pedals, swing arms, and rear tail light.  Then, it's time to de-rust, etch, and coat the gas tank.  Then, finally, sand, prime, and paint this thing.


Oh, I almost forgot to remove the wire for the rear tail light.  Details on this soon...


Handlebars / Controls

I hate the stock maxi controls.  They look dumb and rust out easy (in my opinion).  I am going to remove them permanently.  I plan on hard wiring the lights and re-locate the kill-switch by the engine (the horn is already non functioning and will remain off as well).  

Here we go.


Check out the cobwebs in this thing...  Note the wire colors for the lights and horn for future.


There are 2 wires on each brake lever for brake lights.  Remove them.


The other control (kill-switch) is brown and black.


Note the ground point for the kill-switch, and the horn.


 Time to crack open the light.  2 bolts on either side will release it.


Once it is off the frame, take a small flat head screwdriver and pop the rear panel off the light (pretty easy).


2 yellow/black wires and a ground.  They are connected with spade terminals.  Pop 'em off and set the light aside.


Next is the speedometer assembly.  There is another black/yellow wire for a light in the speedo housing and brown for ground.


Find the speedo cable on the front wheel and unscrew it.


Speedo pops open the same way as the headlight.


Remove the connections.  I left the speedo cable hooked up to the speedo so I wouldn't lose it.


Remove the ground points from the frame.


This is the mount for the speedo.  Remove it as well.


Droping the engine

Ok.  Now it's time to drop the engine.  3 bolts is all it takes.  I put a paint can under the engine so it wouldn't fall off onto the ground.  Here's bolt number one.


Attached to the other side of the 1st bolt is a ground point for the coil/electrical block.


Bolt number 2.


 Now's a good time to brace the engine if you haven't already.  Bolt number 3 below...


I'm dumb and forgot to disconnect the (clutch/decompression?) lever from the engine... let's do that now before we remove the engine...
Cool.  Now the engine is free from the frame.  Slide it out form under the frame.


Continued...

Ok, next the exhaust pipe came off.  This was a lot harder than it looked.  The proma is a funky design and it pretty much makes it insanely hard to bolt it onto the cylinder.


But I got it off anyways...  Don't think I am going to put it on again.  I will probably get a different pipe.


This is what it looks like now.  Nothing special.


Next, I am going to remove the rear tire.


Once the tire is free, move it forwards and then you can remove the chain off the rear sprocket.


Move the brake lever with your hand to release tension. Then, remove the brake cable.


To remove the front sprocket you will need a pair of circlip pliers.


Without the front sprocket removed... the chain will stay on.  It cannot fit around the stator plate.


More Later...

Sunday, October 10, 2010

Wiring

This to me is the most fun of the teardown.  Re-doing the wiring.  You can get 20-25 ft of colored 16-18 awg wire on amazon for 6 bucks.  So I am going to get a bunch of different kinds to re-do the wiring.  I am a Video Engineer so I work with low-voltage audio/video wire all day.  This will be fun.


Here is a before picture of what the block should look like (minus the brown wires)


First thing I did was make a simple diagram of the wiring block and the different wires coming and going from it.  This is the breakdown.  There are wires coming from the flywheel / points, and there are wires coming from the main trunk going to the Handlebars (horn, killswitch, lights, etc.)  We will refer to them as the "Handlebars" for now...


There are 6 colored wires coming from the flywheel / points.  They are as follows...


GREEN BLACK (Green with black stripe)
BLUE
YELLOW
GREEN
GRAY
BLUE BLACK (Blue with black stripe)


All but Gray and Blue/Black go to the wiring block.  Gray goes to a separate junction and then goes to the rear tail light.  Blue/Black goes straight up the main wire trunk up to the Handlebars.


On the other side of the wiring block, we will attempt to match up the colors.  I have attached a crudely made drawing of a wire diagram.  


So... You will have 7 wires going up the main trunk to the handlebars.  (2) Blue/Green wires, (2) Green wires, (1) Yellow wire, (1) Black wire, and (1) Brown wire.  A second Brown wire will go to the frame and act as a ground.  A Blue wire will come out of where the Black wire comes out and go to the coil.


Now that you know where everything is supposed to go, you can disconnect the wires from the wiring block, coil, and ground.


This is where the wires come out of the flywheel/points.


Again, once we take off the controls and handlebars, we will be able to get a really good idea of what colors hook up to what controls (horn, kill switch, lights, etc.)

More later...

Saturday, October 9, 2010

The teardown

So it begins.  


This is the last time it will look like this...


I didn't know where to really start, so I took off the seat, rear shocks, and book rack.  Two bolts easily removed the seat.


Seatless Maxi...


I then removed the 2 nuts holding the rear book rack...  The front of the book rack (closest to the seat) is actually held on with the top seat bolt.


The shocks were a little confusing at first, but I got it.


I just took a couple wrenches to the bottom of the shocks.  That freed them up s I could un-do the top next.


It is one long "axle" type pice of metal with two independent round headed nuts that held on my shocks to the frame.  Remove one of the nuts and slide the axle through the hole.


There was a rusty spacer type piece on the right.  Catch that before it hits the gorund.


Seat-"less" and Shock-"less" Maxi.


Next, I took off the carb and high flow air filter so I can disconnect the electrical.  Not going to post a step by step since you should be familiar with that if you're even attempting to tear down a moped.


I left the intake on until I removed the coil so I could access the nuts on the intake.  I just left the throttle cable hanging for now.  Remove the spark plug boot from the plug if you haven't done so.


I only had 1 bolt holding on my coil (tsk tsk).  Note... it has a ground wire attached to it.


Disconnect the wire heading to the wiring block and set the coil aside.